

Last Updated on April 1, 2023
We end our big review with diy silhouette lantern: red leaves and black figurines.
Read more:
part 1 – lighting possibilities, basic materials,
part 2 – papier-mache, lampions, papier bags,
part 3 – polygons, “cheese package”,
part 4 – “houses” and “drums”.
Separat about feast and songs for it.
Bascetta star tutorial
German school cone (Schultüte). How to make
Often silhouettes are deko for lanterns-“houses” and cylinders and less often – for lanterns-“drums”.
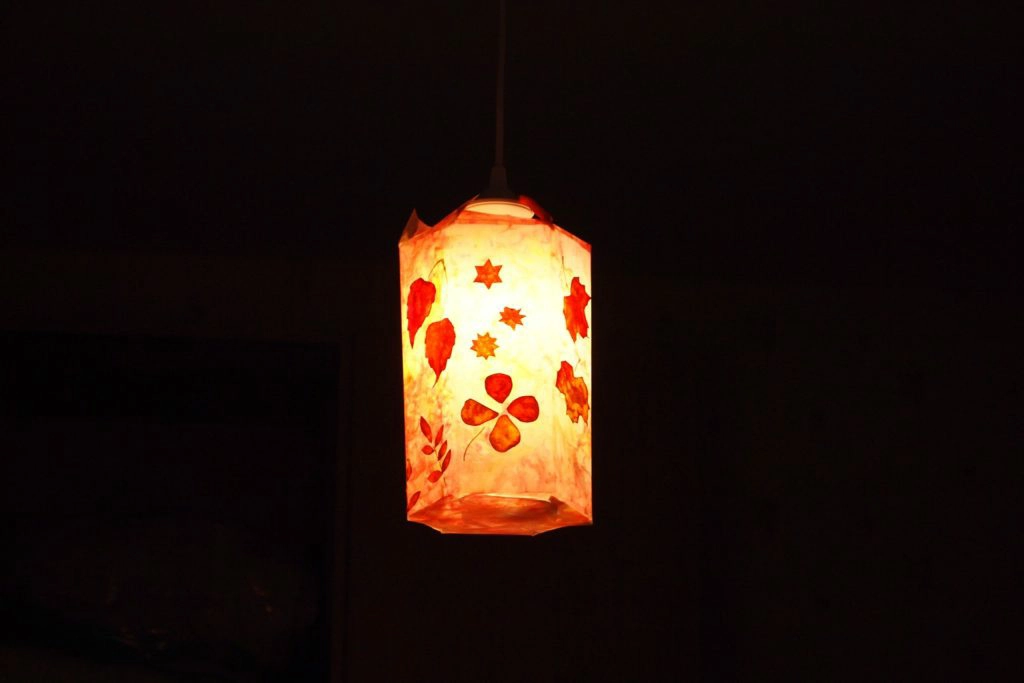
Diy silhouette lantern with leaves
I really like the way the burgundy leaves glow. I tried several times to combine them with lanterns. The problem is that the lantern should look good in daylight and glow well in the dark. One of two things often suffers.
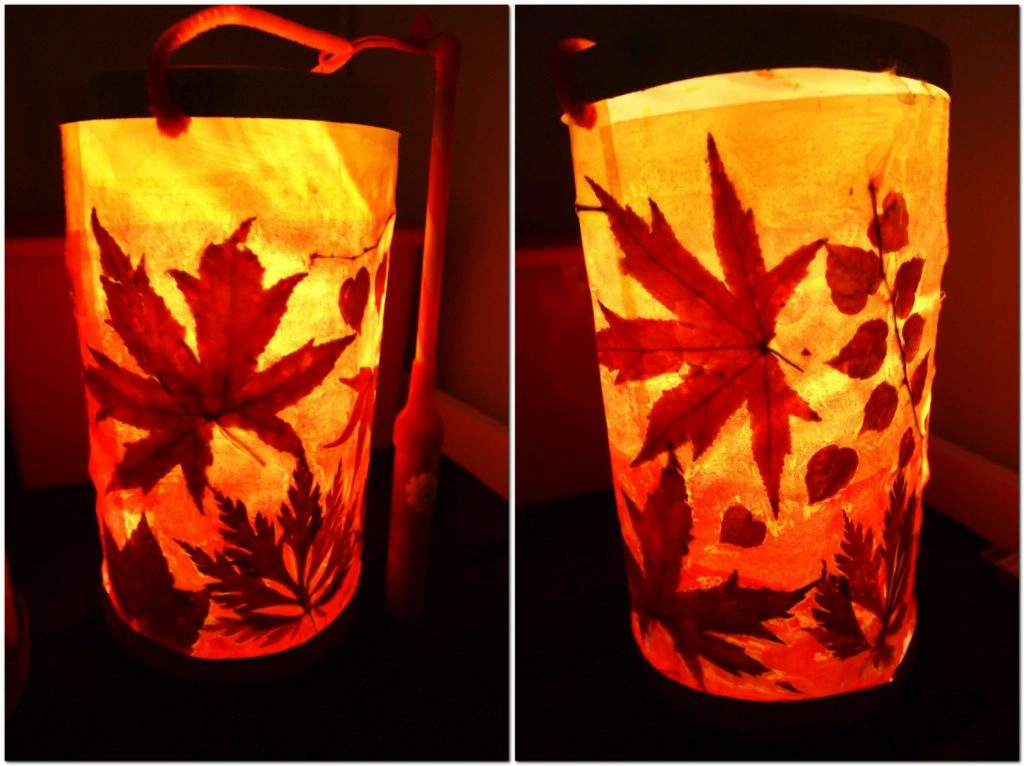
The ideal would look like this:
- collecting red leaves (complex shapes and several leaves on one branch are especially good)
- we take a long sheet of paper (this will be the wall of the cylinder – accordingly, the desired length and height must be taken into account in advance), paint over it as desired (I have yellow, painted with a gradient to red)
- glue the leaves
- glue the self-adhesive film over
- glue the edges into a cylinder and glue them to a round base – cheese boxes
- oil the paper
This is a hard-won ideal option. And now the intermediate “failures”.
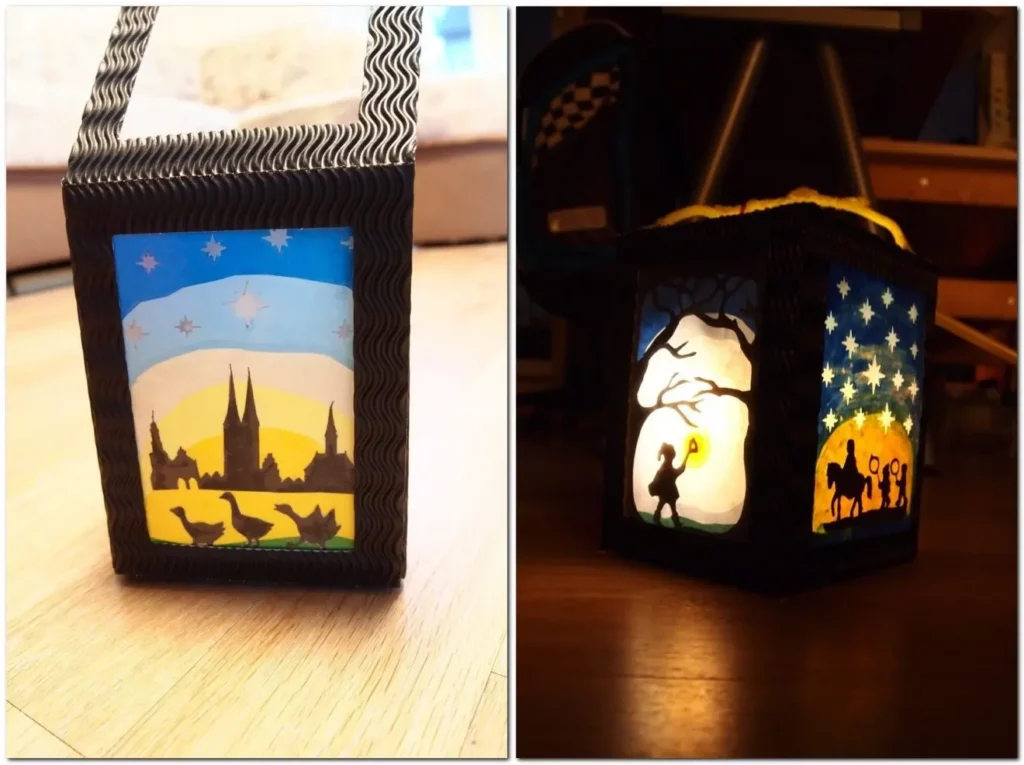
Geese in the leaves. Errors: the leaves are not covered by anything – they crumbled, the sides are too narrow.
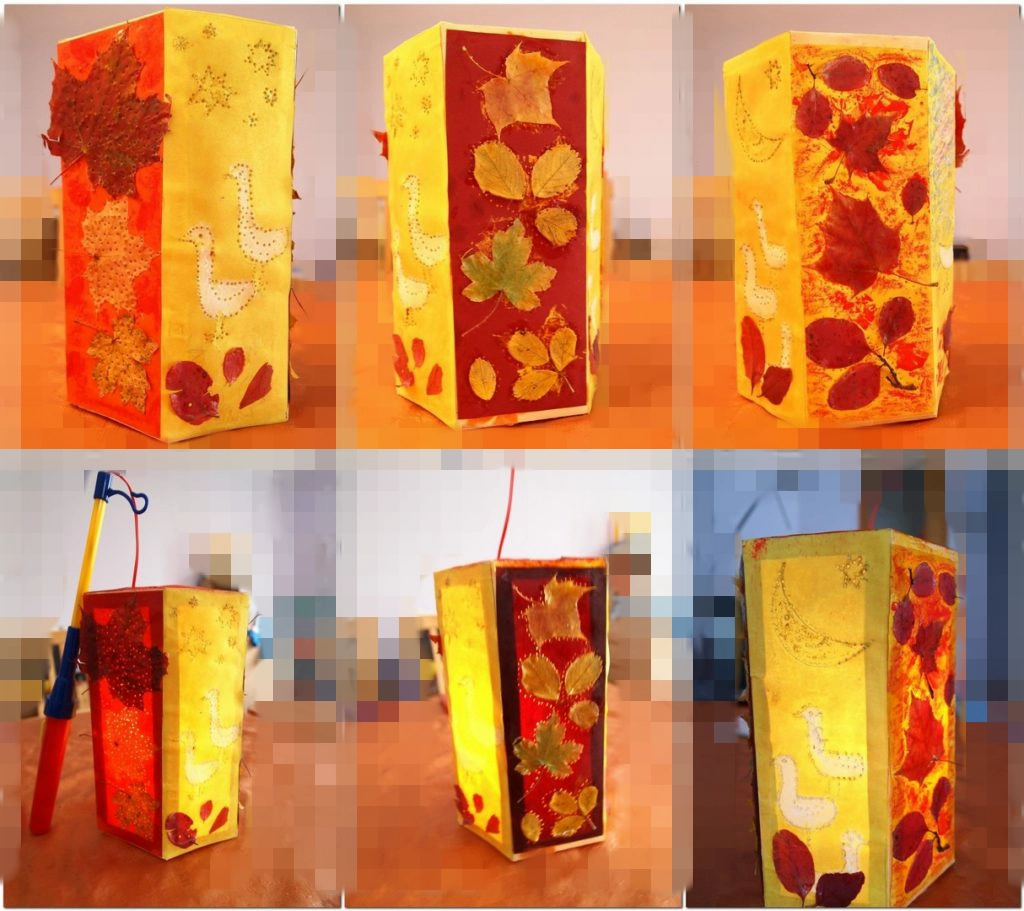
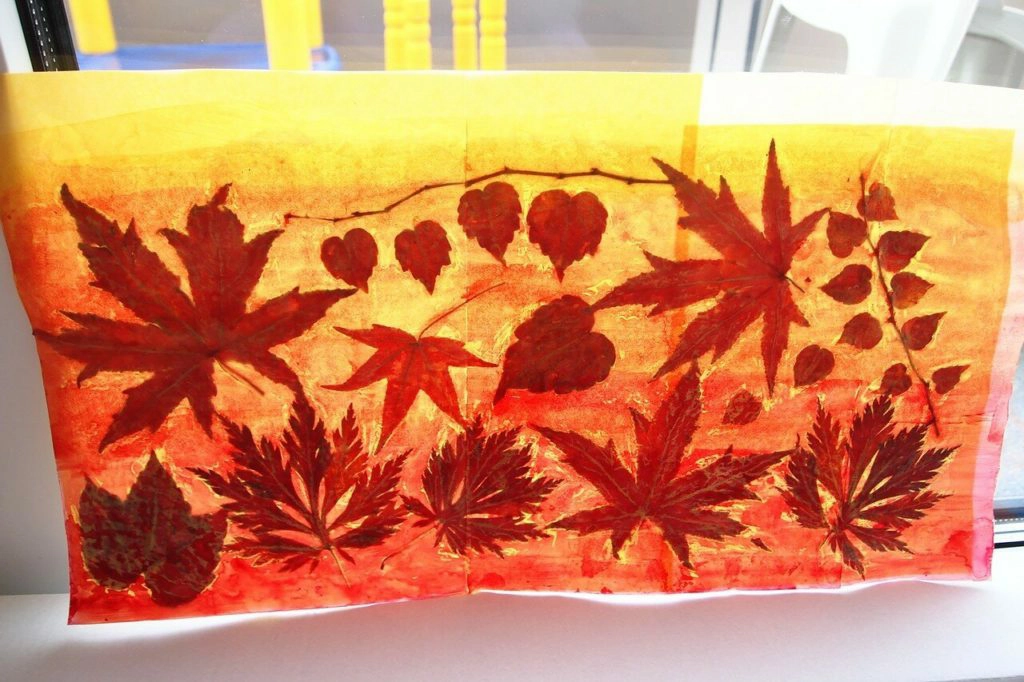
Second option: marbled paper. The paper is glued over the film, outside there are leaves from coffee filters soaked in liquid watercolor. Errors: Marbled paper looks good in daylight. But lost at night. The leaves, glued over the film, flew around over time.
But this is a great lampshade right after the move to new apartment.
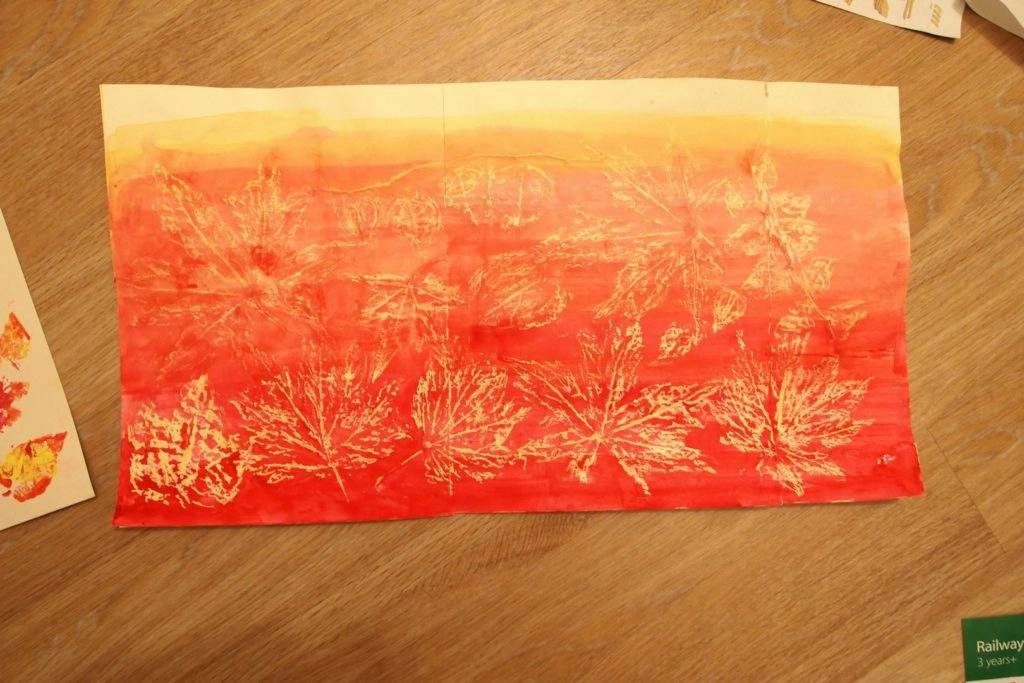
Option 3, almost perfect. To get rid of the problem of breaking and flying leaves, I made one of the samples I saw on the Internet, where the leaves were laid between the layers of paper. Good idea, but the daylight appearance suffers. I had to rub it on top with a wax pencil so that the leaves would come out.
Another error: oiled before gluing – oiled paper does not want to glue under any circumstances.

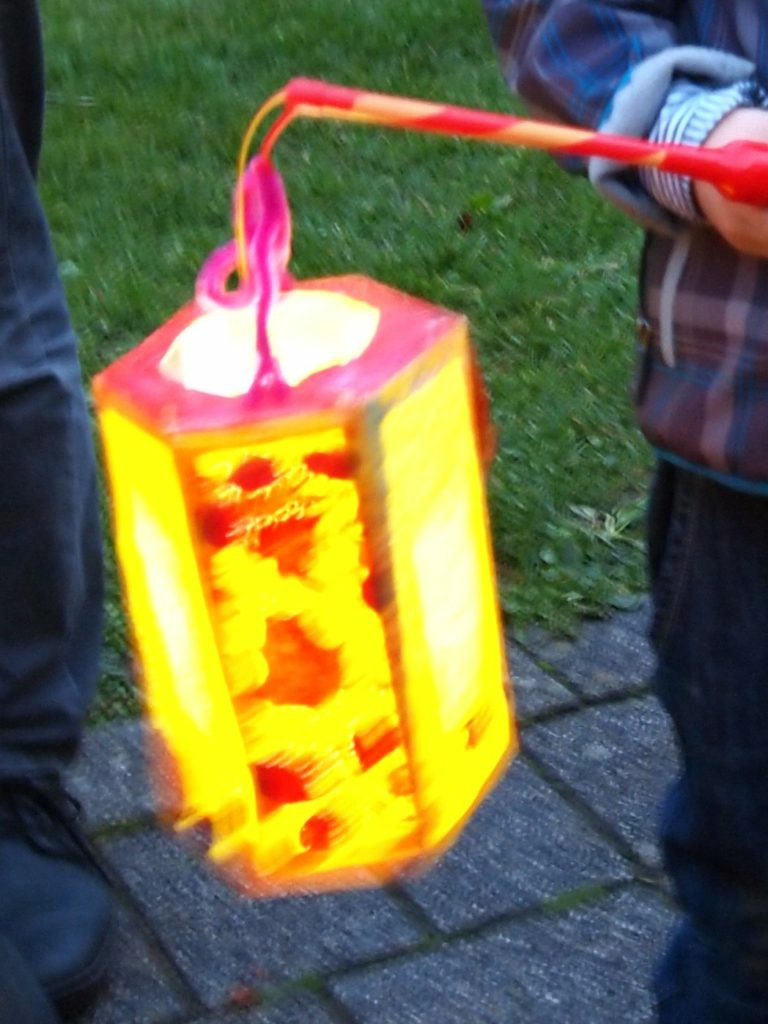
Into the light.
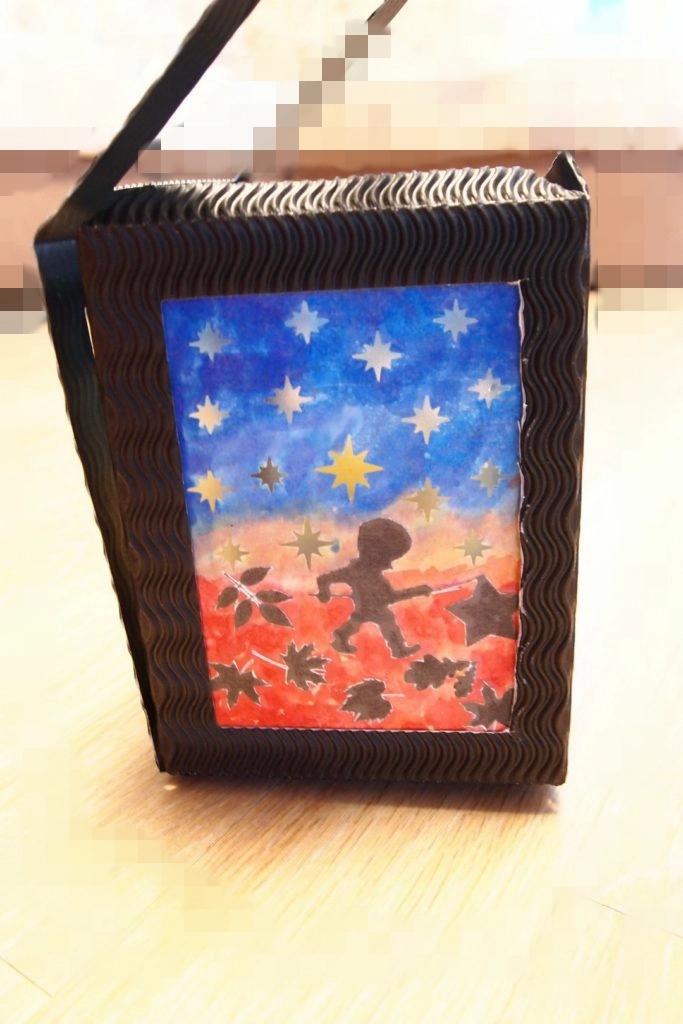
Diy silhouette lantern with black pictures
If most of the previous lanterns can be made by a child with the help of an adult, then this type is for very grown-up children and adults.
Examples of pictures can be seen by Google typing “fensterbild silhouette” or “transparentbild” (one word, not two). Silhouettes for copying – “Silhouette Sankt Martin”
Working time: depends on. If you have a clear picture of what you want in your head, then in 2-3 hours in total you can cope.
Materials
transparent paper (some sheets of the same tones – from hell to dark) or colored paper (+ oil),
silhouettes from the Internet or from the head,
sharp small scissors,
a office knife or a scalpel.
Optional base for lantern (sold in many shops or art departments). If there is no base, then it is easy to do on your own (see in the previous parts).
Additionally, self-adhesive film for books (Einbandfolie – sold almost everywhere, including Kaufland).
Instructions
Find a silhouette, print on thick (preferably) paper, indicating when printing the size of the picture you need for a lantern, cut it out. It turned out to be strange for me that cutting is just a simple and relatively fast part of the job.
Imagine properly what colors are needed for the background and what will lie on what. The task is not entirely trivial, it requires some calculations and training (imagination).
The point is that the layers of paper overlap. In this case, paper of the same color is usually used, which, when overlaped, gives darker shades of the same tone, which creates a special mood for such pictures. But another color must be entered so that when overlaying it does not create unnecessary fields of mixed colors.
How it is implemented in practice.
I had transparent paper of only basic bright colors, so I made one picture with transparent paper and another with colored paper (+ oil).
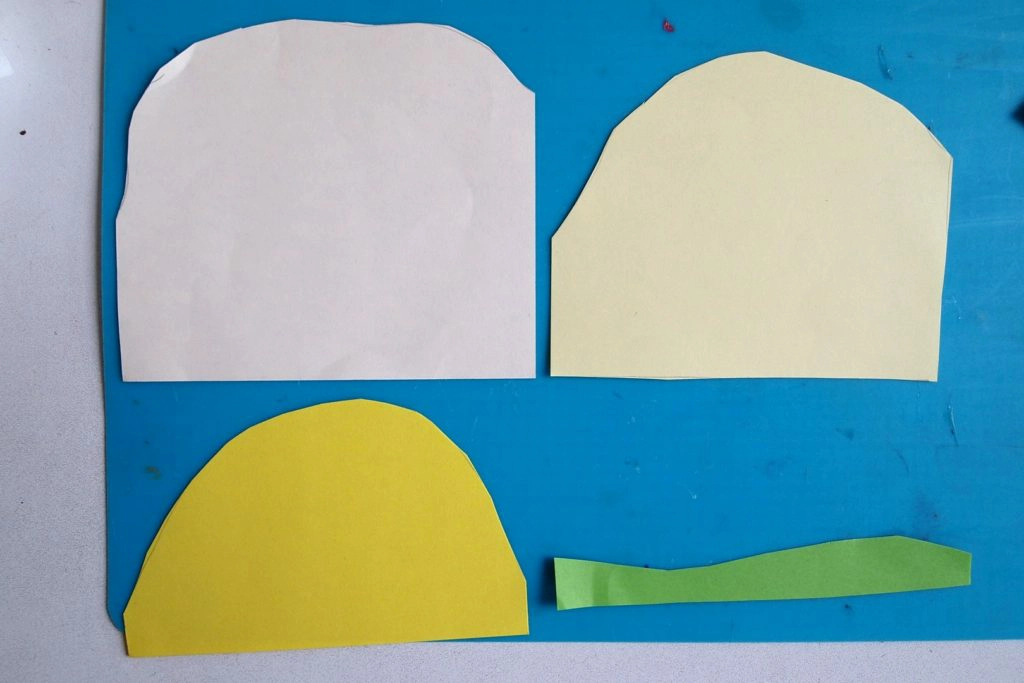
Colored paper
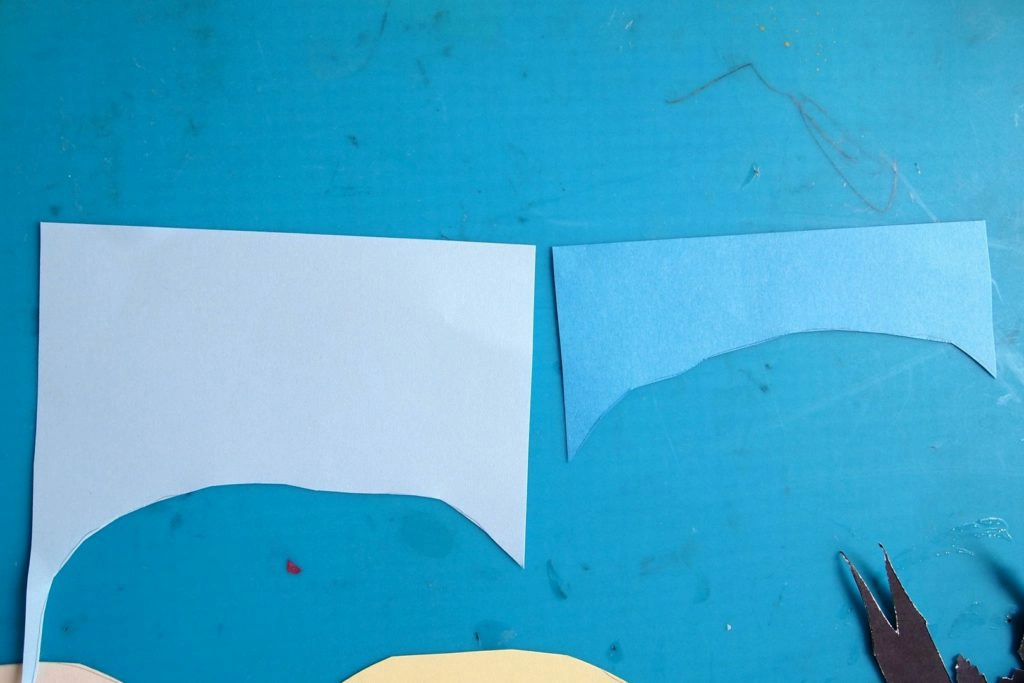
I want to make yellow bottom, blue top.
This means that I cannot put either light blue or light yellow paper on the entire size of the picture: this will give me green either at the top or at the bottom. Therefore, I divide the picture into two parts and try to make the joint as much as possible without overlaps / holes, which I almost succeed in.
Next, I make the lightest yellow color in the largest piece, and on top I put the brighter, but smaller paper. If it were transparent paper, the same color could be used and it would become more dark and intensive. But then the transparent paper should be of suitable colors, and that’s the problem.
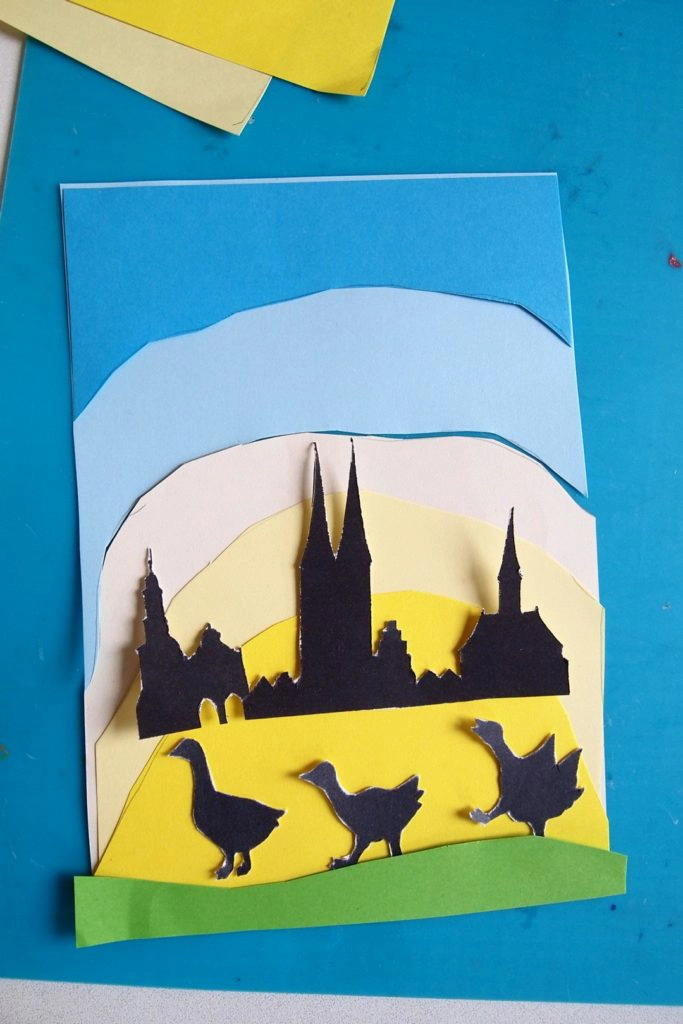
Next I calmly put green on yellow, since it does not change color.
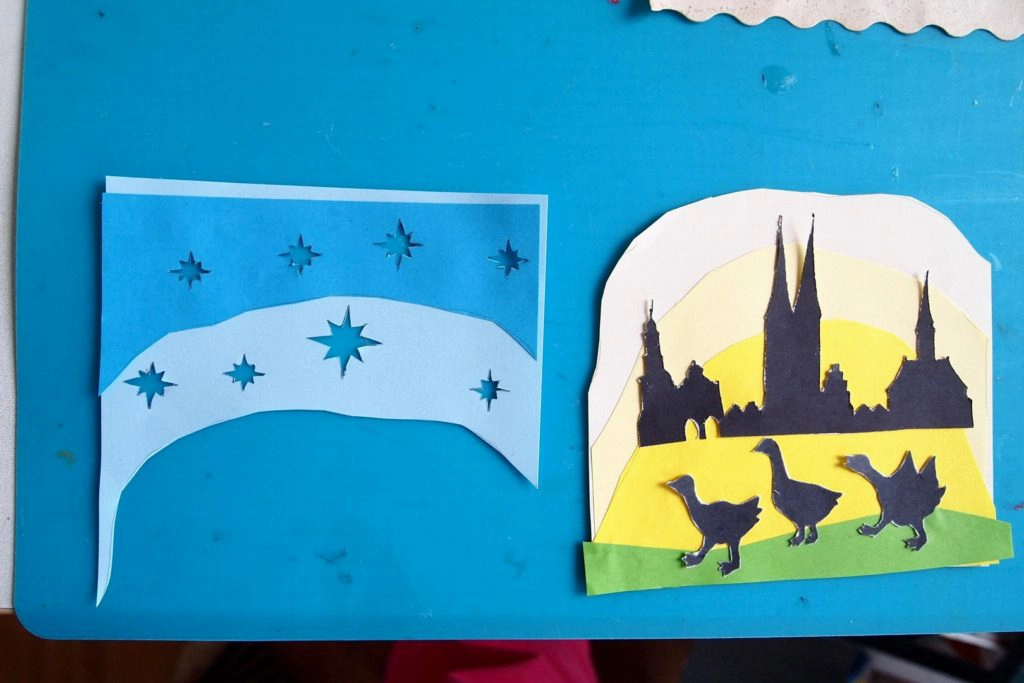
Components of the bottom.
Upper parts
Glue it together. Oil it.
Since I do not have a common base paper (however you can use white paper as a base), I use a self-adhesive film for books to collect the picture.
The reverse film sheet fits by size the entire wall of my base for a lantern, and the film on the front side (which is optional) is smaller – the size of the window. It turned out that the protruding reverse film glues my picture to the wall of the lantern and I don’t need additional gluing.
Now transparent paper
The base is a light blue piece of transparent paper the size of an entire window, but with a round hole for yellow paper. Over are two more layers of the same paper, but smaller (the darkness “grows” from the “window” for yellow paper to the edges). I put dark blue transparent paper on top – not because I wanted to, but because the blue was not dark enough.
Inside the “window” I put
a large circle of light yellow transparent paper (it can be seen that it did not suit exactly),
on it – the piece of the same paper, but smaller,
on it – a circle of orange paper, in the very center of which a small hole is made – it is like a candle light (yellow paper shines through from below).
You do not need to oil the transparent paper. I also stick it on film lantern.

Follow me
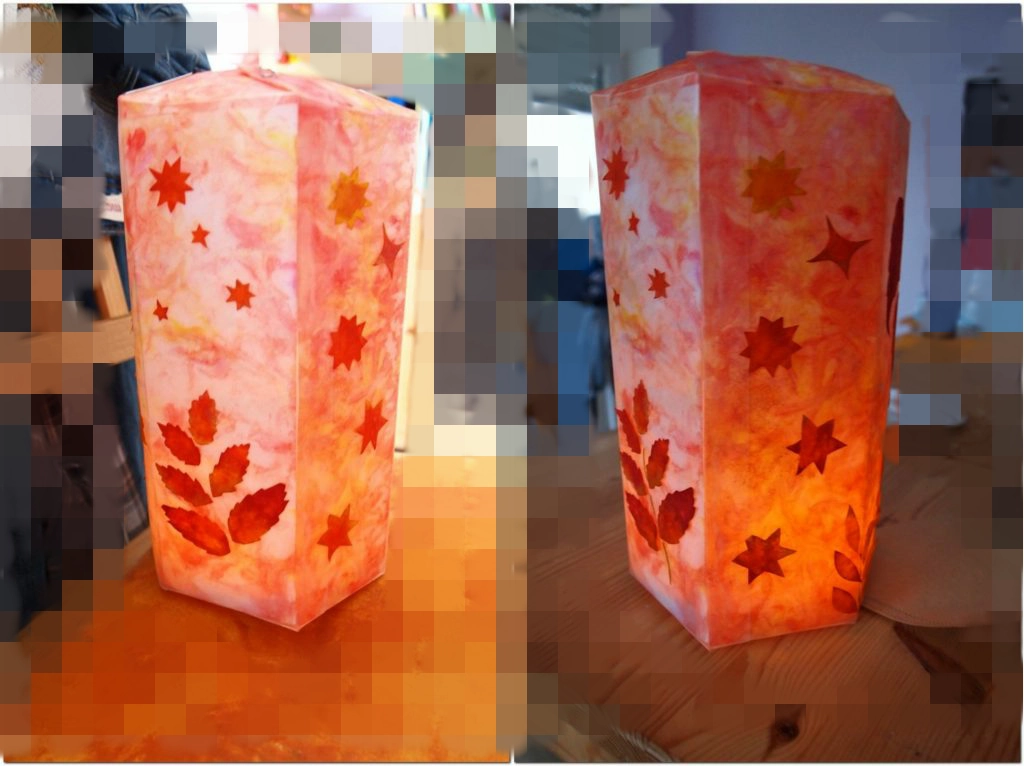
I got tired of sticking very accurately different shades of pieces of paper, trying to get the exact size, so I decided to make the two remaining sides more simple by painting the paper.
I had bags for coloring with holes-stars, one of them I cut and painted with liquid watercolor
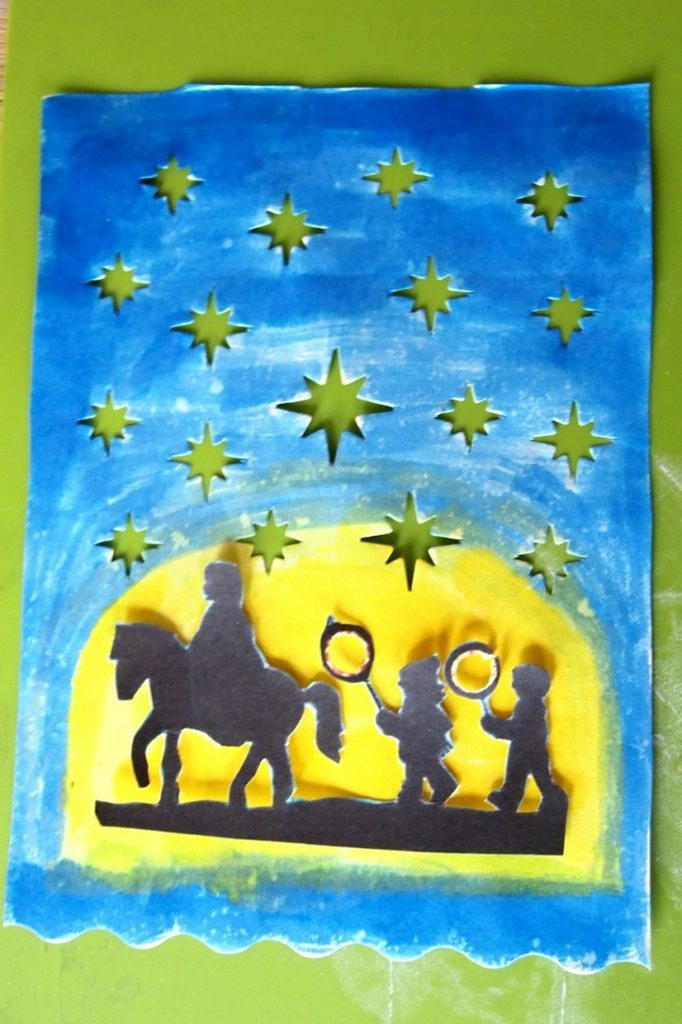
On this we put a three dots in the subject. Every year, new fashionable “stars” appear in the Internet: one year cows are hit, another year – owls. Nowadays, eco and recycling are popular, so you can find lanterns from bottles, tetrapacks and paper plates.
Next – Saint Martin Feast and songs for it
part 1 Lighting and basic materials
part 2 Papier-mache, lampions, paper bags
part 3 Polygons, “cheese package”
part 4 “Houses” and “drums”
Do you enjoy the site without cookies and maybe without ads? This means that I work for you at my own expense.
Perhaps you would like to support my work here.
Or Cookie settings change: round sign bottom left